IBBX Bolt 1.0
Overview
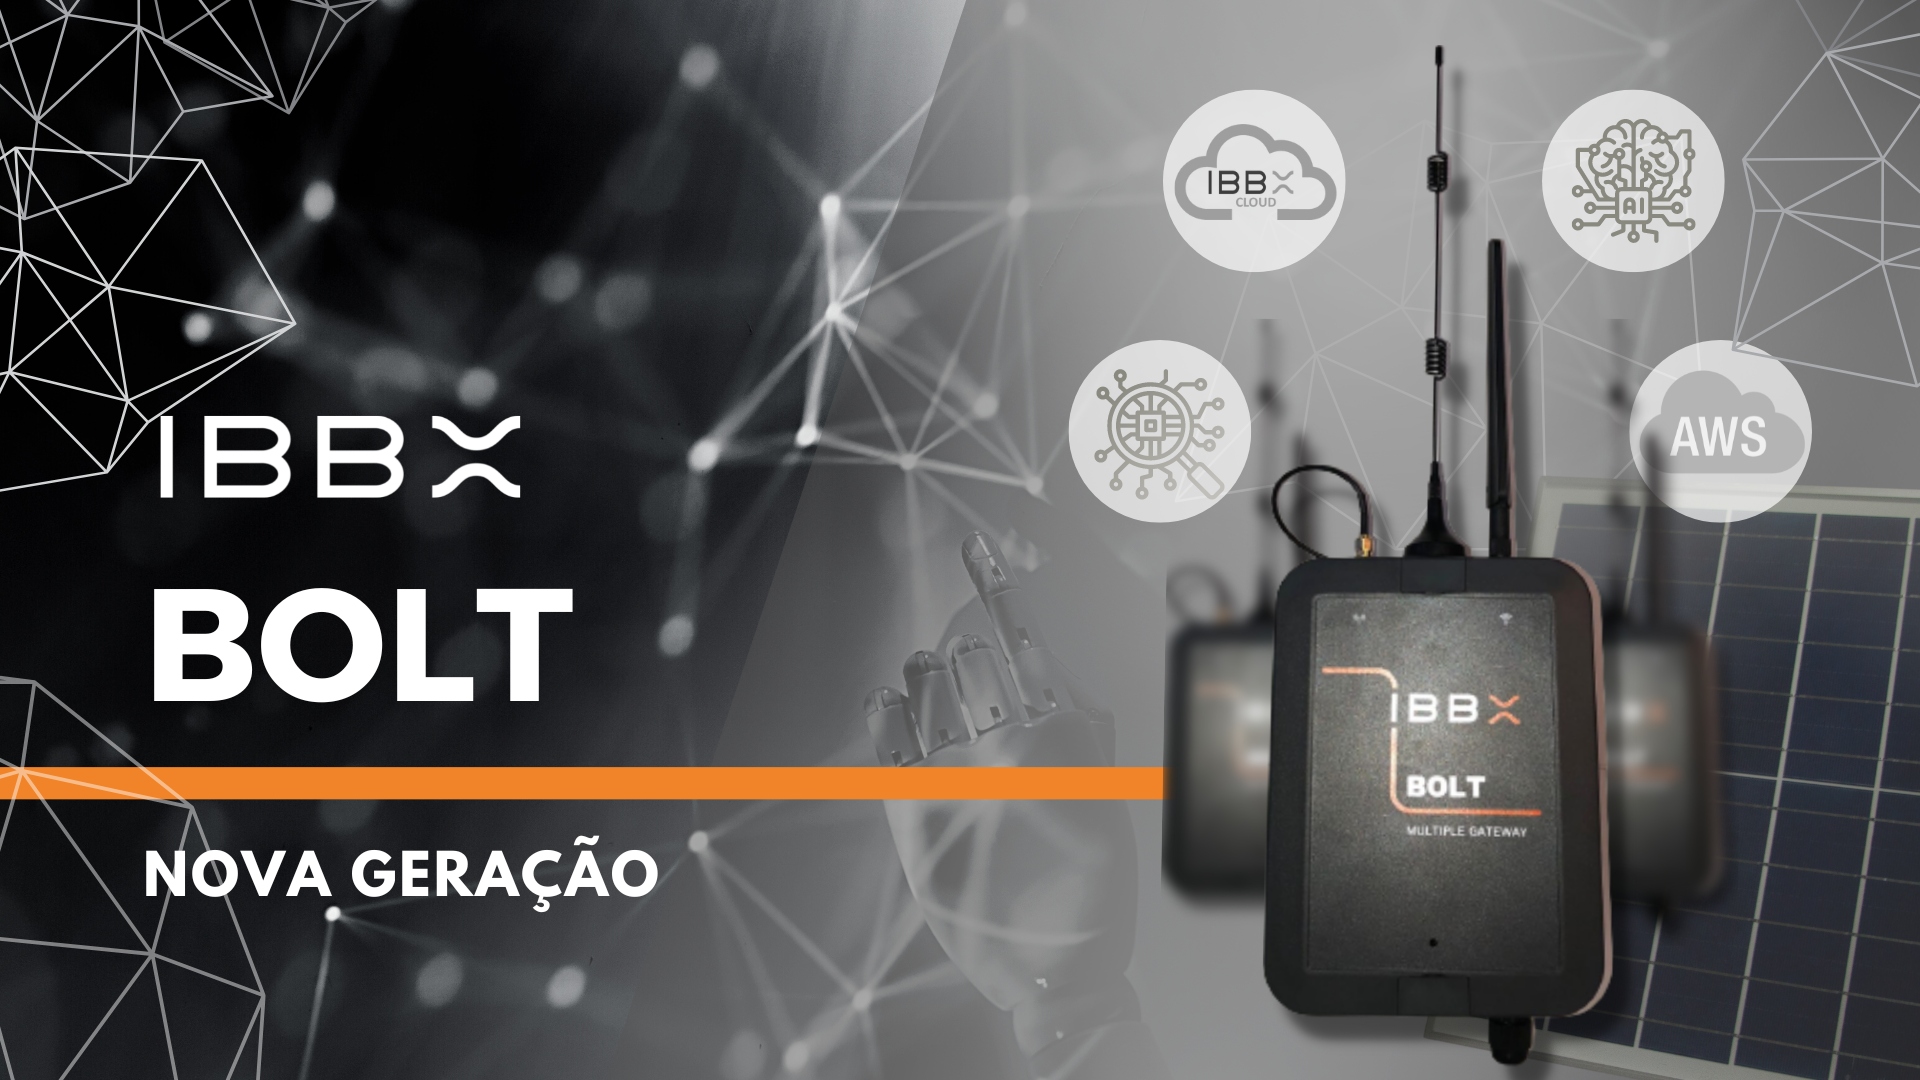
IBBX BOLT v1.0 is a high-performance gateway capable of connecting to several IBBX devices simultaneously, with guaranteed connectivity in a variety of environments, even those with high electromagnetic pollution and/or physical obstacles. This connectivity is achieved without the need for wires or changing device batteries.
Through its multiprotocol connection platformconnection platform, IBBX BOLT connects to the sensors installed in the assets via IBBX's own protocol, LRLC - Long Range Low Costprocesses the data and sends it to the AWS cloud, via 4G cellular network, Wi-Fi network, satellite and radio internet, which, together with our real-time data analysis and visualization platform, IBBX RETINA. IBBX RETINAIBBX RETINA is the solution capable of predicting failures and occurrences, making it possible to reduce unscheduled downtime and the number of accidents, thus contributing to the adoption of predictive and prescriptive maintenance along the lines of Industry 4.0.
Read more|
Tech Specs |
Model |
|
| Certifications | FCC/CE-RED/SRRC |
|
| Processor | Two cores, 240MHz | |
| Memory | 4 Mb Flash + 8 Mb RAM | |
| Storage | Card support MicroSD card up to 32Gb | |
| Network connectivity | 4G network, Wi-Fi network, satellite and radio internet(*) | |
| Food | Bivolt (100-240V, with Brazilian standard plug, according to NBR14136:2002, 2P+T - 10A) or Photovoltaic solar panel(**) | |
(*)Technical feasibility study
(**)On demand
Video highlights
-
IBBX BOLT v1.2
-
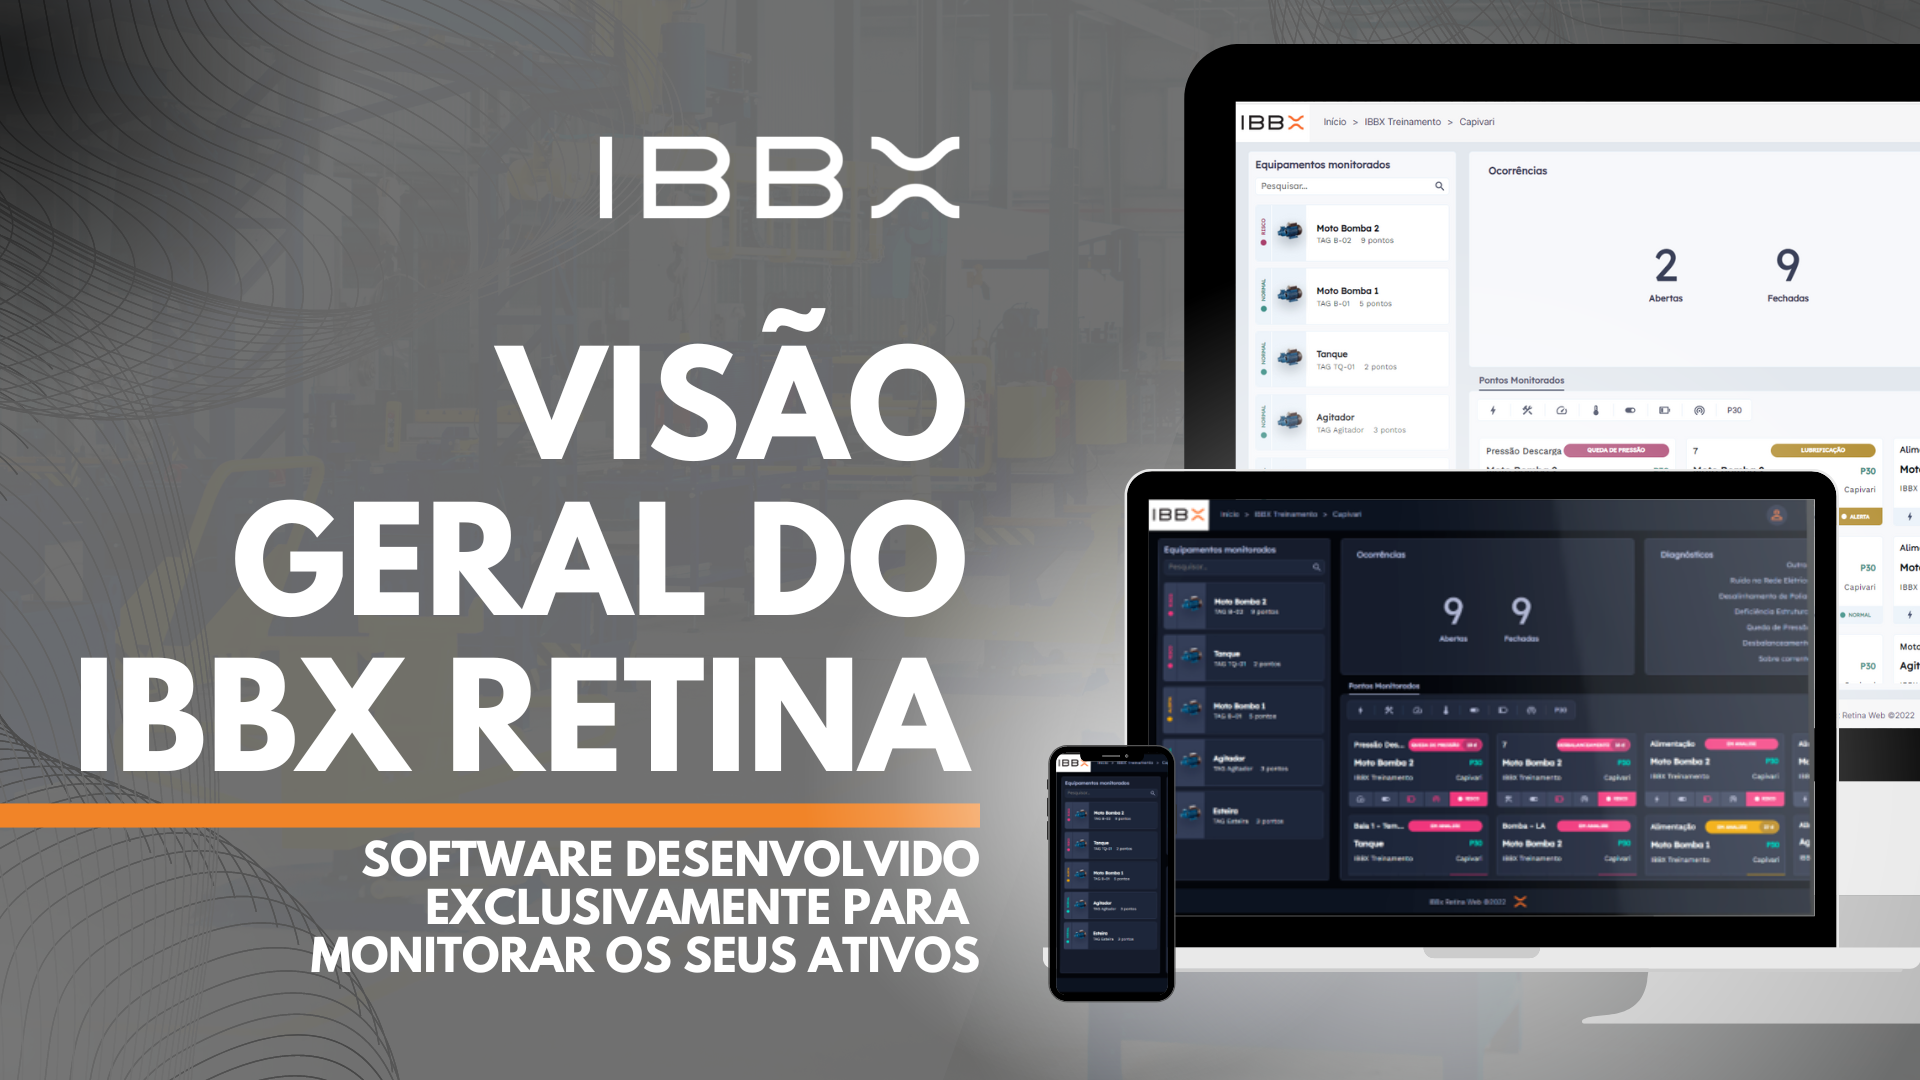
IBBX RETINA Platform
See step by step
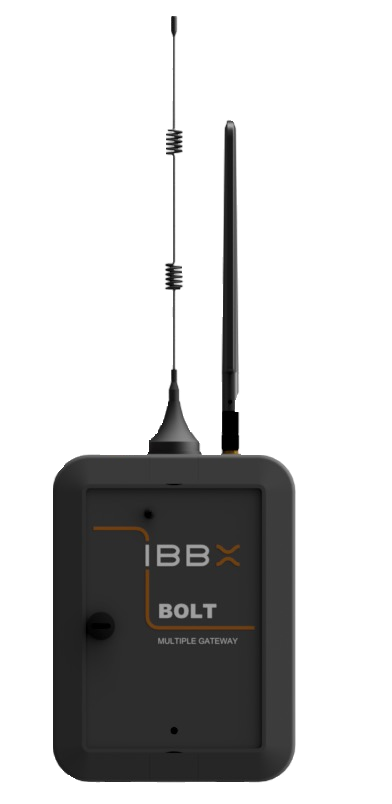
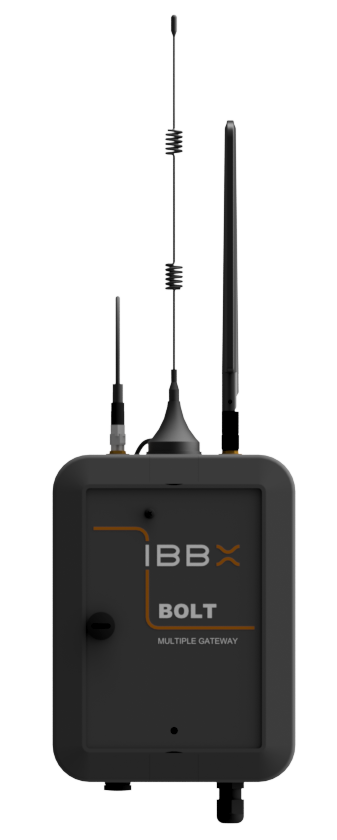
- IBBX BOLT v1.0;
- RF antenna with extender;
- 4G antenna ;
Notes:
If any of these items are not contained in your package, please contact IBBX. For more information access the User Manual, Quick User Guide or video tutorial.
Height: 432mm
Width: 130mm
Thickness: 45mm
Weight: 596g*
Notes:
For more information access the User Manual, Quick User Guide or video tutorial. * Actual size and weight may vary according tothemanufacturingprocess.
Classification A
Signal Range: 100 m
Types of environment: Open spaces without
barriers between the sensor and the Bolt.
Example: Water and sewage
sewage treatment plants, agricultural crops, industrial yards,
open fields, outdoor industrial areas in general.
Classification B
Signal Range: 100 m
Types of environment: Open spaces with
barriers between the sensor and the Bolt.
Example: Tall, open industrial sheds,
Mining belts, city streets, forests.
Classification C
Signal range: 80 m
Types of barriers: enclosed spaces with many barriers between the sensor and the Bolt.
Example: Closed industrial warehouses with lots of metal structures, reinforced concrete walls, basements, enclosed environments.
Before installing the IBBX BOLT, check that the position chosen for installation is recommended or at least satisfactory, as illustrated in the User Guide.
Attention:
The positioning guidelines must be followed to ensure the proper functioning of the solution.
Recommended positions are the most suitable, as they provide accurate readings from more reliable data.
Satisfactory positions can be adopted in cases where installation in the recommended positions is not possible.
Inappropriate positions can result in inaccurate readings and should therefore be avoided.
Notes:
For more information go to the User Manual, Quick User Guide or video tutorial.
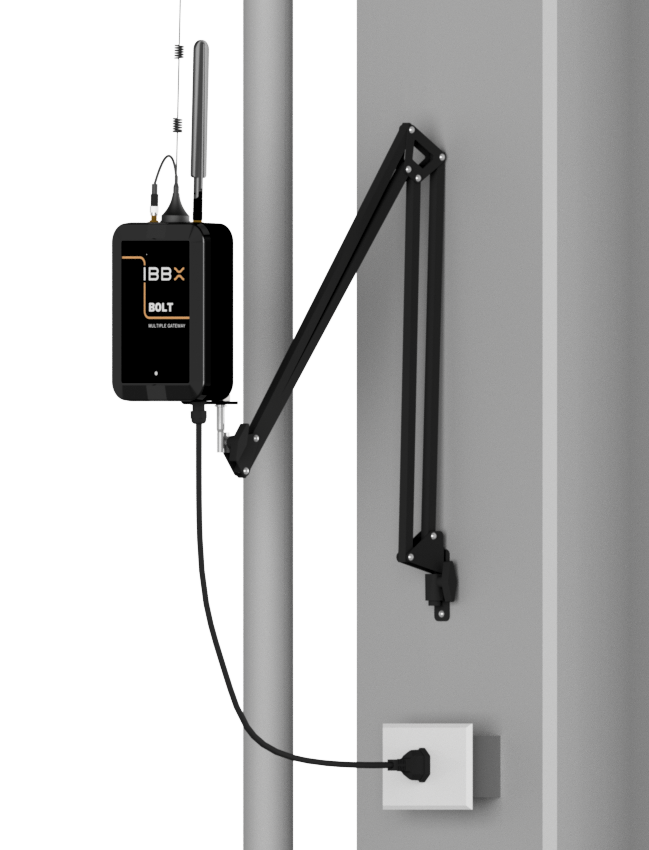
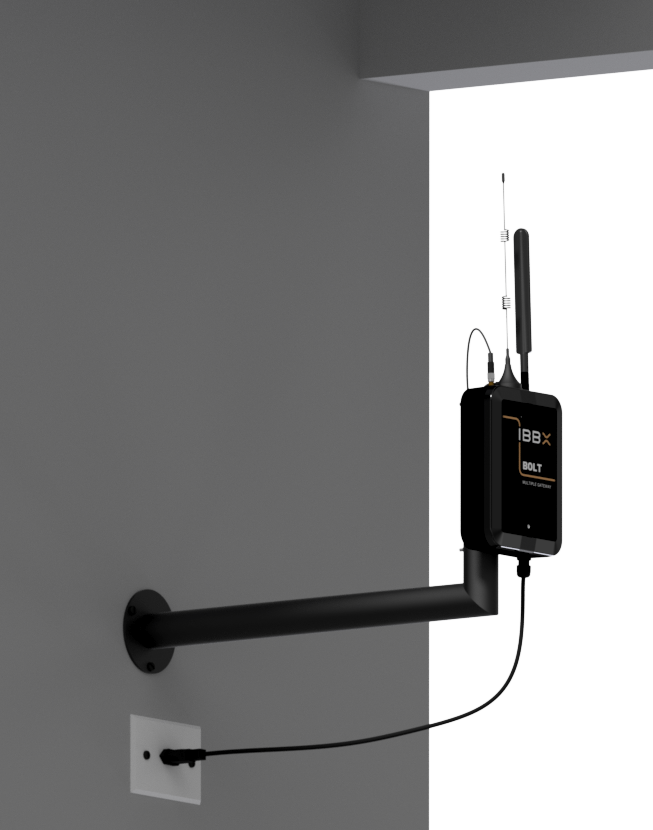
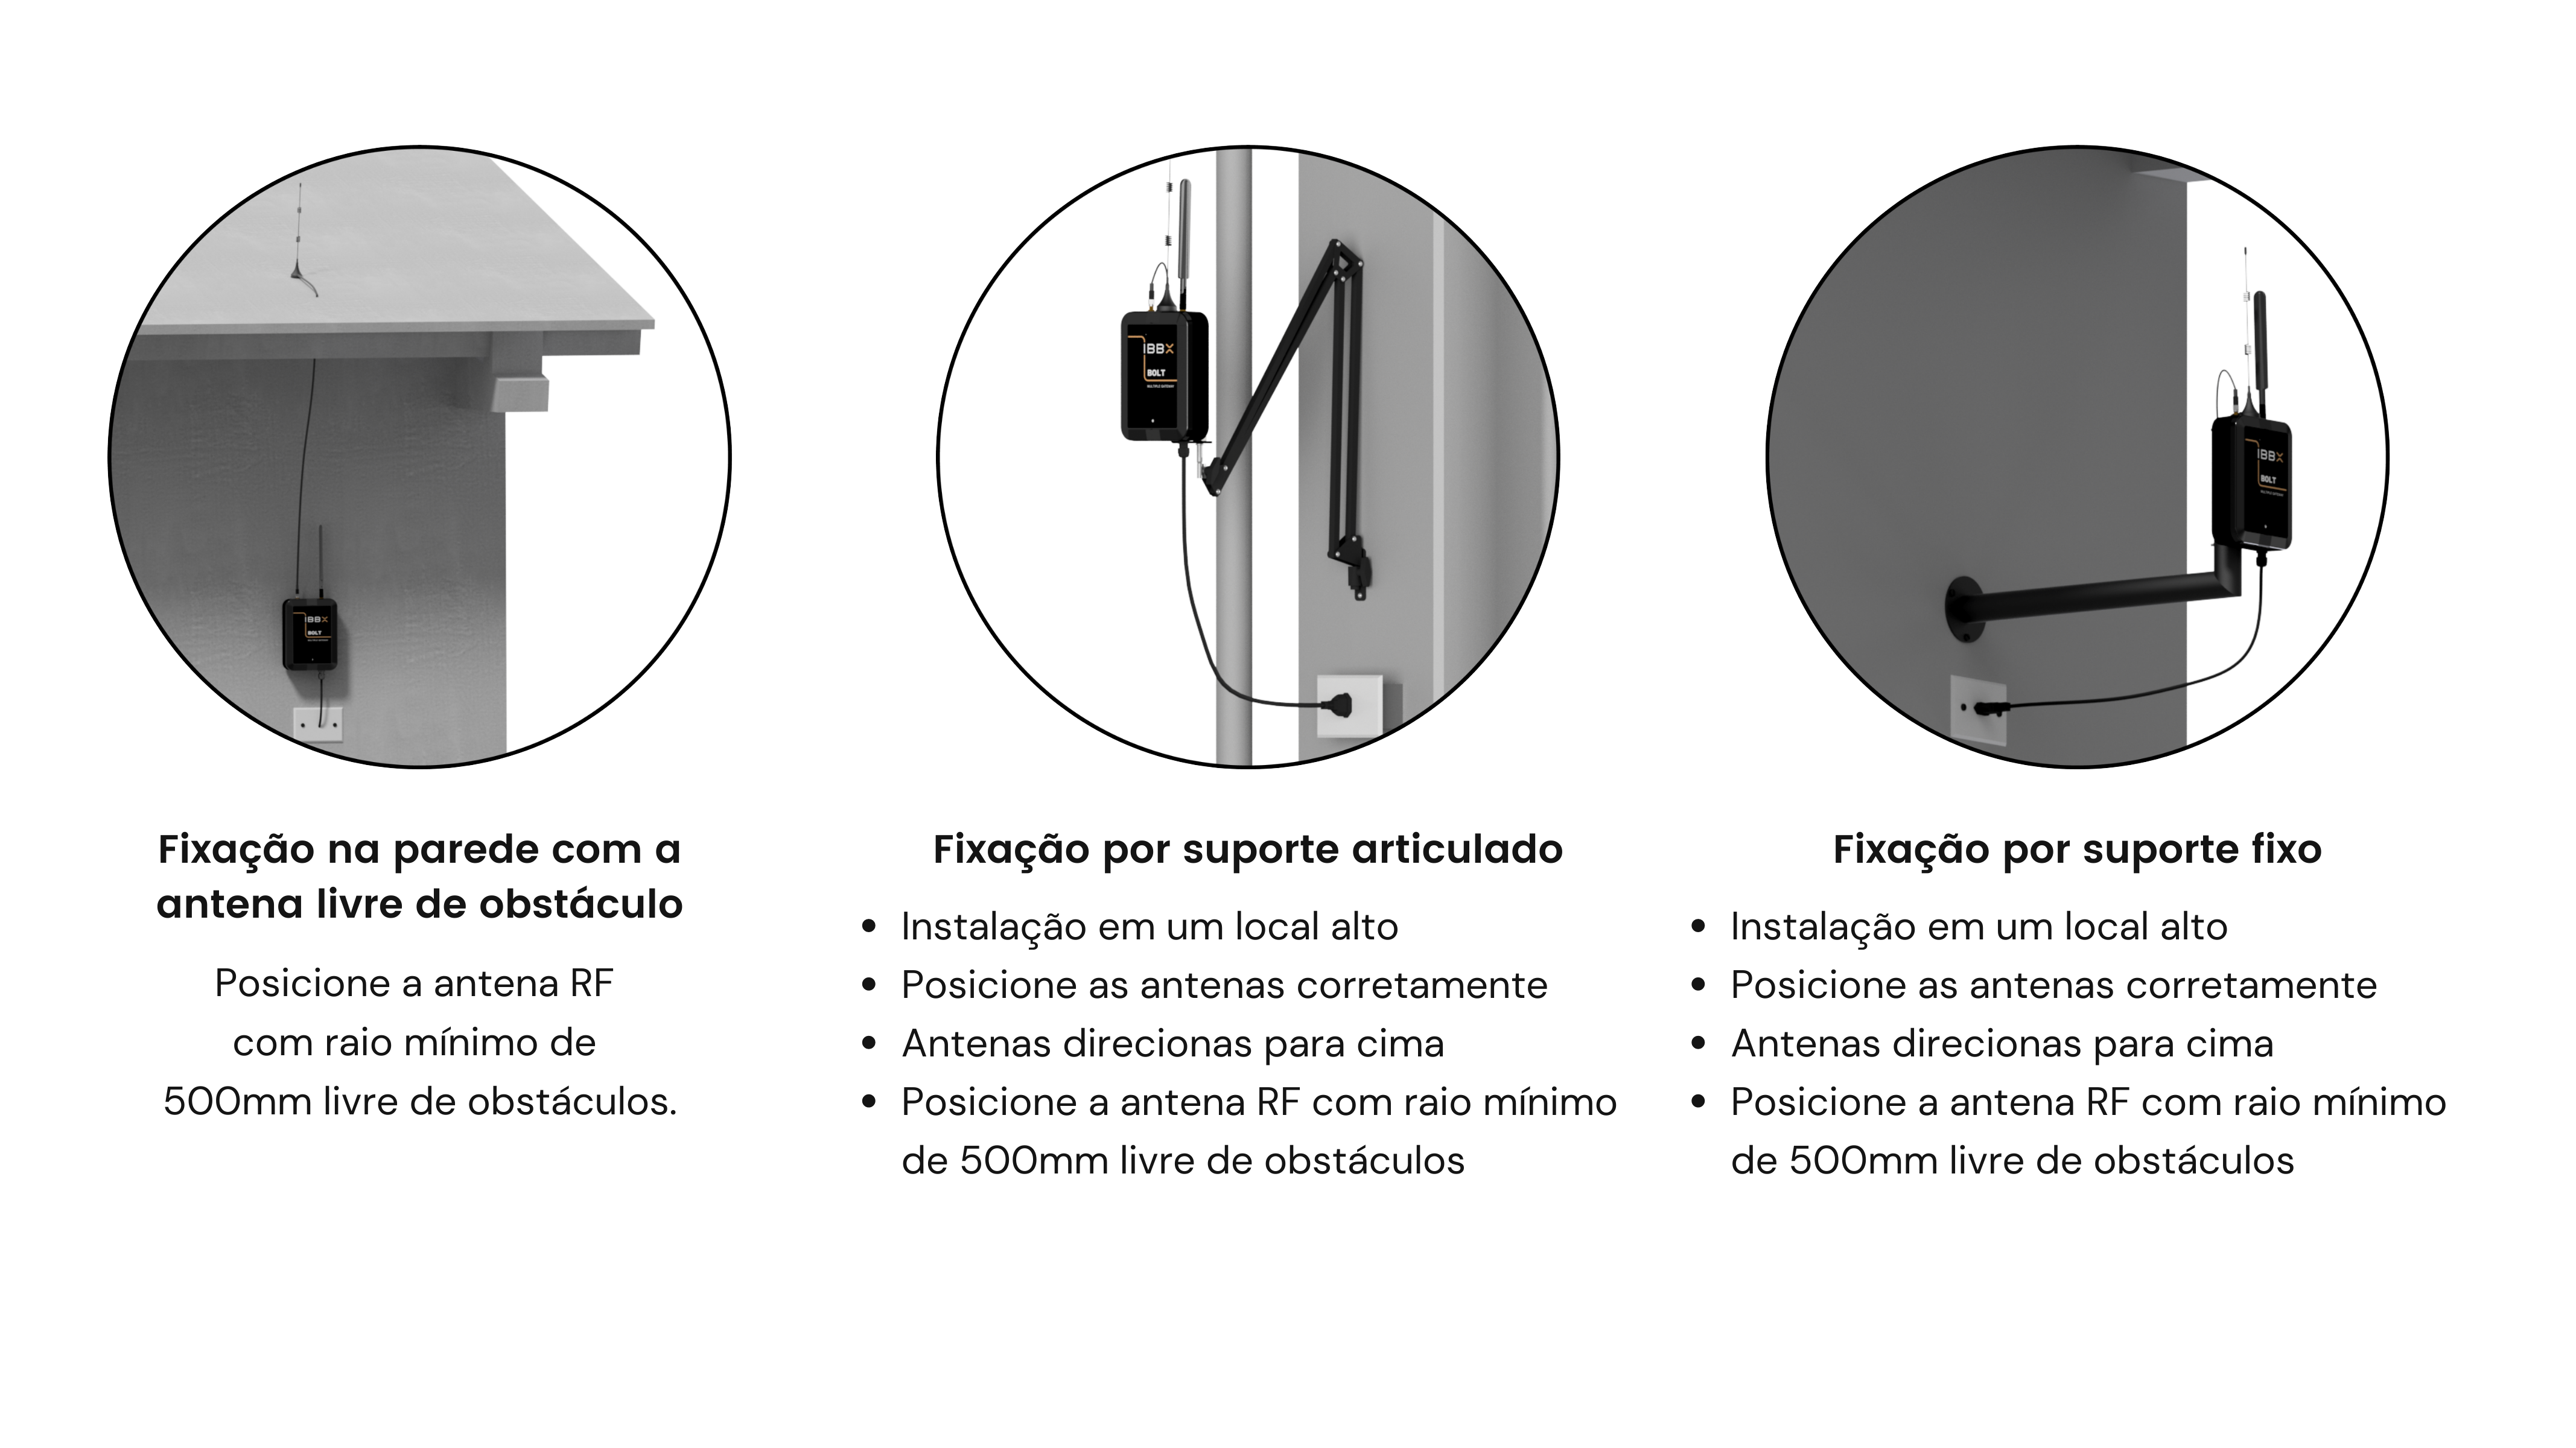
The IBBX BOLT must be fixed to a bracket, which can be fixed or articulated. The choice of support model to be used should be made after defining the device's installation site, which must be prepared in advance.
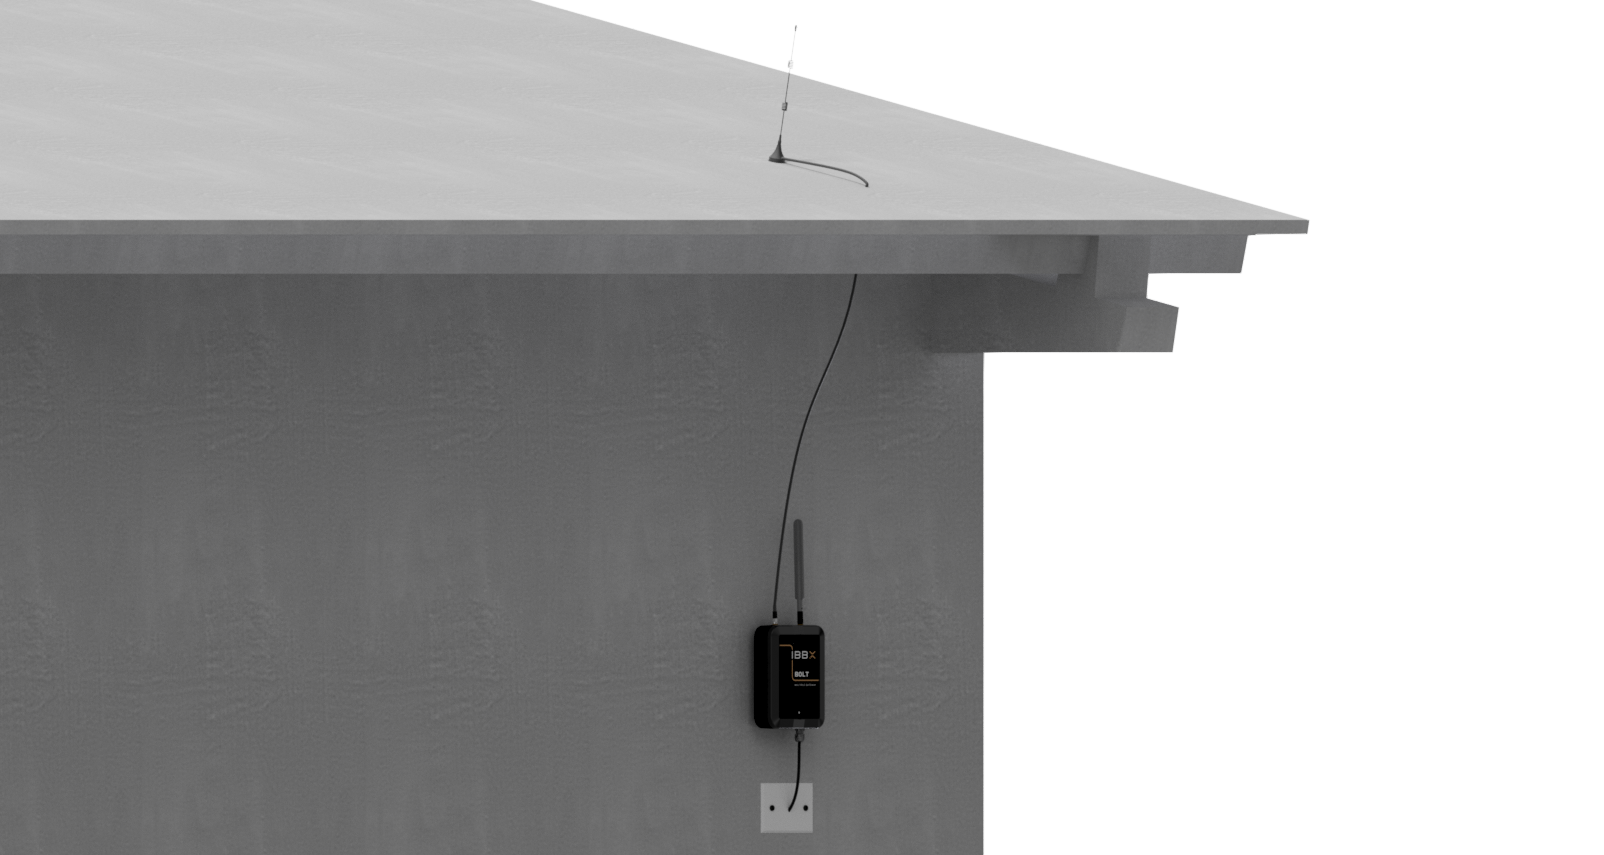
Make sure that the fixing surface can be drilled, which support is best suited to the location and that the IBBX BOLT antennas will not be resting against the ceiling, roof tiles or structural beams.
Notes:
For more information go to the User Manual, Quick User Guide or video tutorial.
What they're saying about us